Sunday, October 18, 2009

(more) Fiberglassing

So I've spent some more time fiberglassing the main fuselage. Here are a couple of pictures where I'm trying to show the finish on the body (it's tough to get a good shot of it).

Fiberglassed

Fiberglassed

I covered over the hole where the vertical stabalizer is going to go, but I'll cut it out and sand it down before I actually put it in there.

Tail fiberglass detail

Here's the final finish on the engine nacelle (its just about ready for paint). You can also see a small divot I cut out of the bottom that will be painted to look like the air intake vent on the real plane (instead of the smooth lip they had there in the original model).

Cowling fiberglassed

The next step will be fixing these two peices back together I think...

Just need to fit these together

Wing Radiators

One of the distinguishing features that is missing from the original GWS 109 model is the under-wing radiators. I decided that I'd give making some a shot. I had a peice of packing foam that was about the right size, and after examining some reference photos that I had I carved some squares out.

DSC_9823

DSC_9820

I haven't attached them to the wings permanently yet, since I want to do it after I put the fiberglass on it. I'm probably also going to trim them down a little bit to keep them from interfering with the aerodynamics of the wing too much.

Fiberglassing!

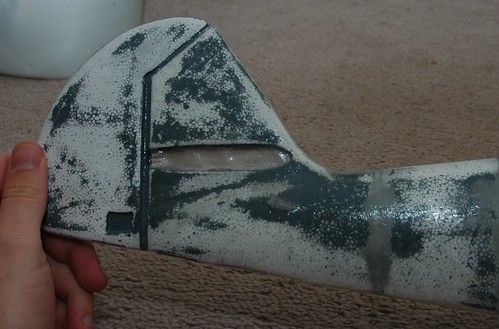
So progress continues, but slowly. I did some work on the plane during some time I took off a few weeks ago, I'll let the pictures do the talking.

Laying on the fiberglass sheet

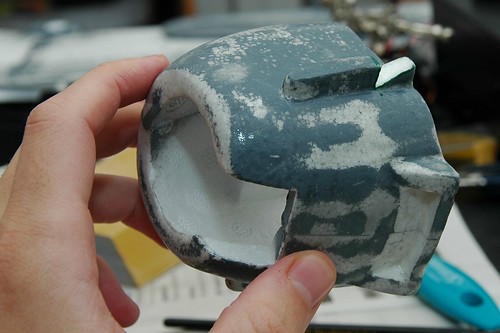
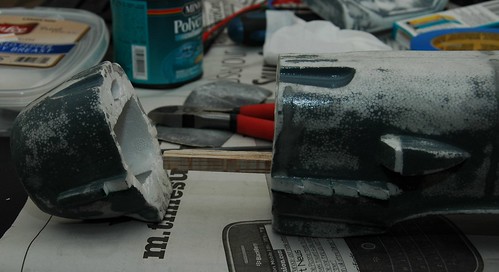
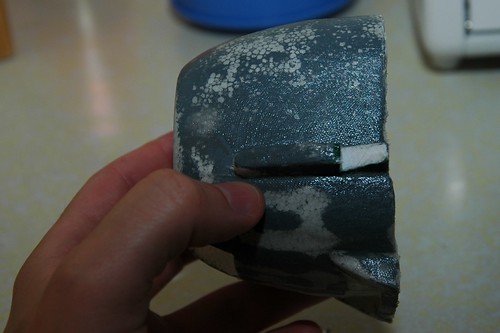
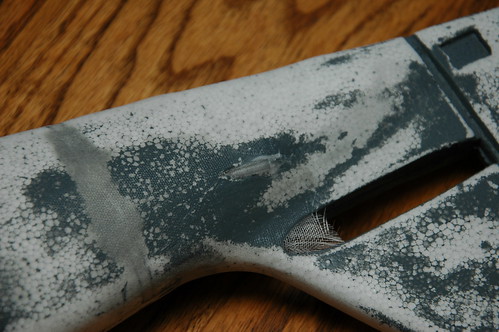
First thing I started on was putting some fiberglass on the detached section of the engine cowling. This was the first fiberglass I've ever tried to apply, and all things considered I think it went pretty well. I used 0.75oz fiberglass cloth and Minwax polycrylic.

Fiberglass'd

DSC_9342

In the picture above, you can see the texture that the fiberglass adds to the nosecone. After letting the nose cone dry for a few hours I would apply another layer of minwax to fill in the weave of the fiberglass. The next day I sanded and did another layer of minwax.

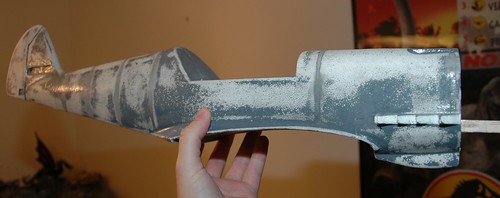
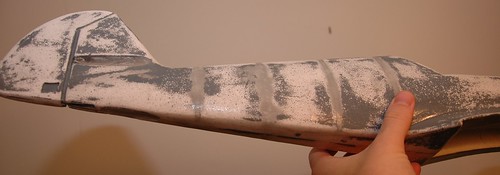
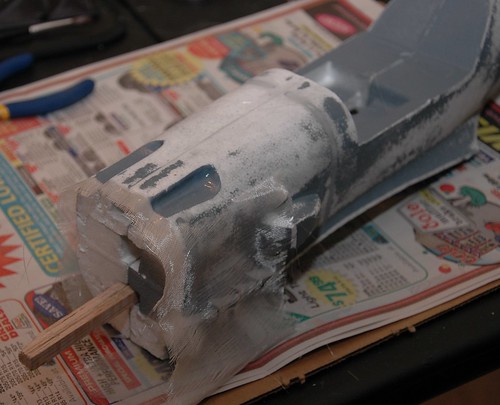
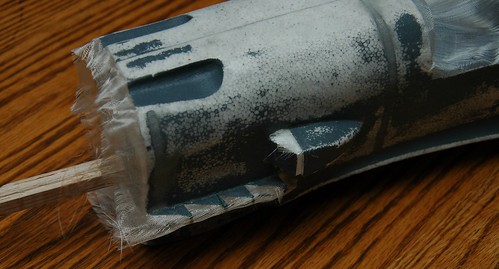
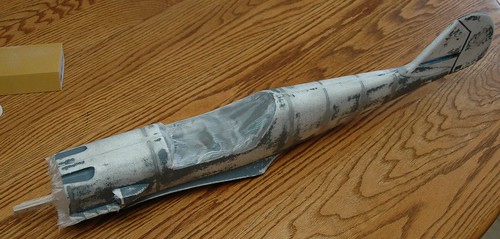
Next I moved on to fiberglassing the fuselage.

Glassing the fuselage

DSC_9827

DSC_9825

I followed the same basic process (two coats of minwax on the first pass, then sanding and some more) for the fuselage. In the next shot you can see the way that I covered the control rod tubes. I'm hoping that they'll blend into the body a little bit and not be so obvious.

DSC_9826

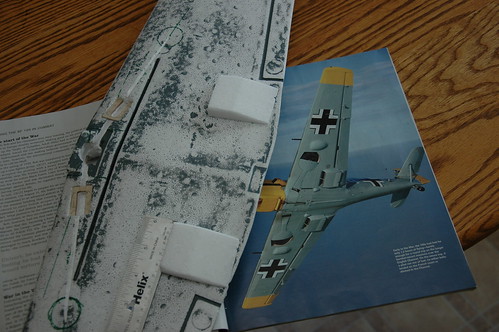
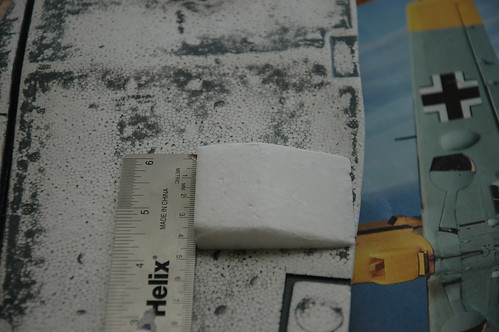
Next, building the wing radiators...