I don't have any pictures of the wing during the process, but it basically took me an afternoon of fitting, cutting, refitting, testing, and generally worrying if I was doing things right to get the wheel wells cut.
I'm actually pretty proud of the final product.
Oh, I bought a new sanding bit for my dremel that made all the world of difference. It let me make the wheel wells with nice smooth sides and flat bottoms and made cutting the wing way nicer than cutting the servo hole was. I used a Cone Grinding Stone (with a flat top).

There's a cylinder one that I think would work just as well.
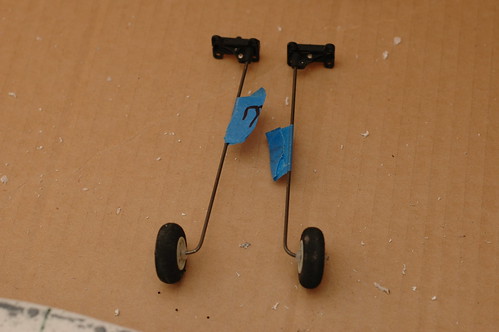
Here are some more pictures of how it all fits together with the landing gear actually in there:
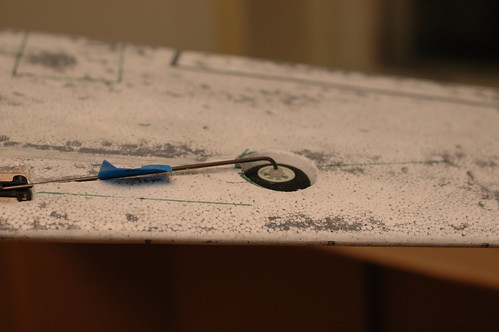
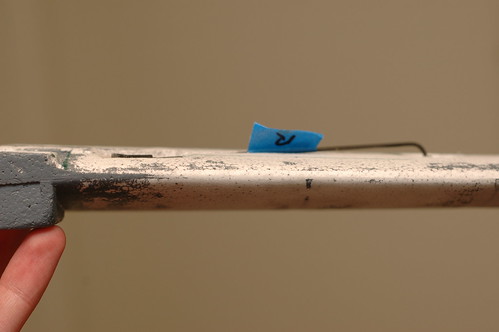

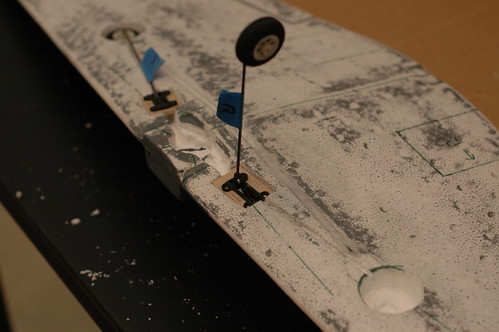
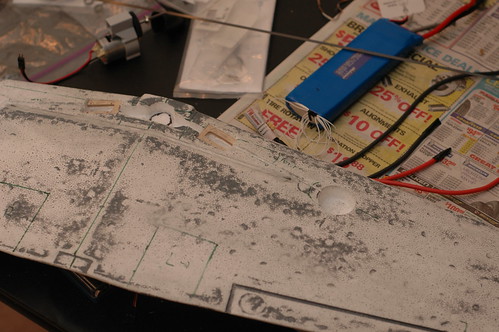
The servo isn't actually hooked up yet, since I ran into a bit of a snag. In order to get the amount of movement that I'm going to need to actually work the retracts, I'm going to need to put a larger head on the servo (to give it more movement distance). Since I'm basically out of wing at the leading edge, that means I need to move the servo back a little bit so there'll be room (since I can't go right to the edge of the wing).
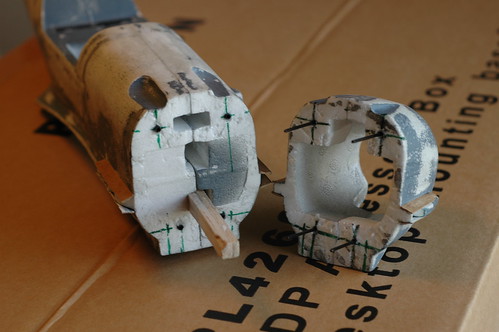
The probem? Well, I'd already cut the hole for the servo! (Big mistake it turns out.)
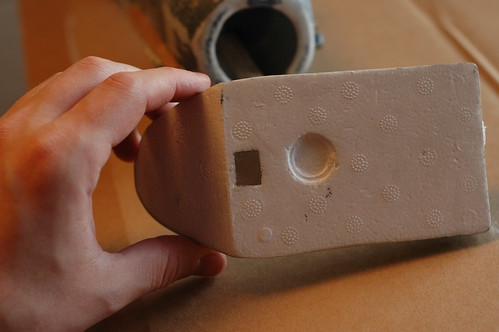
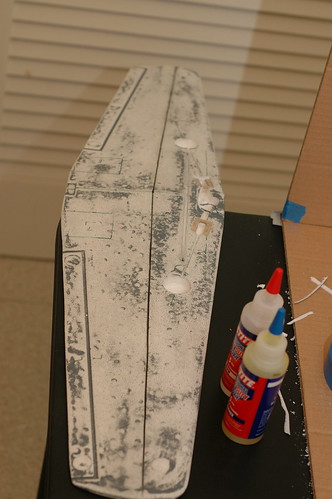
So, in order to get the servo moved back, I needed to plug up the hole. I used a bit of foam I had lying around and glued it into place.
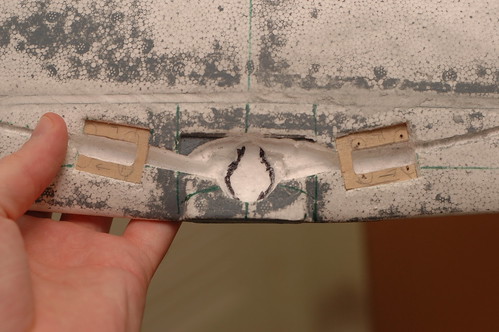
I still need to re-cut the hole to re-position the servo, but I'm definitely not going to cut as much out this time. I think I only need to make a square hole large enough to just barely fit the servo through... I also shaved off some extra space on one side so that the linkage will be able to reach the bottom of the servo head. I think it might actually work!
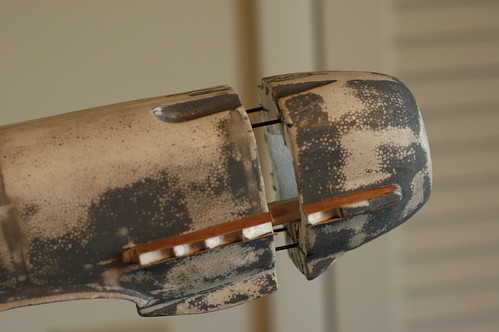
Anyways, after getting the wheel-wells for the landing gear cut, I decided I should probably strengthen the wing a little bit (I'm worried that I managed to weaken it enough that it'd just break off if I landed too hard). I just happened to have some carbon fiber strips that I'd bought by accident earlier on hand, and decided to glue them along the wing to add some strength.
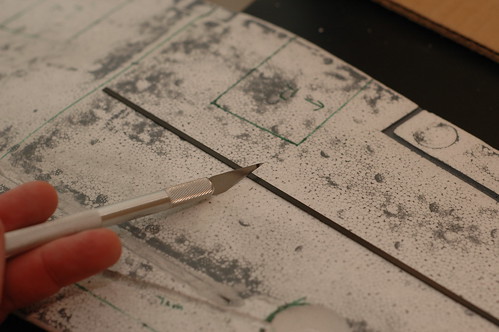
You can see I had to cut a channel to lay the strips in and epoxied them in there. I'm going to have to spackle it when it dries before I glass the wing so that it's nice and smooth, but that can wait for another day.
As a side note, I found that I actually had to cut out a V shaped channel in order to get the strips to slot nicely into the wing, and applied generous amounts of epoxy to secure it. I tried just having a slit in the wing and jamming the carbon fiber strip in there, but it was putting a lot of stress on the wing and I was worried it wouldn't hold up under stress.
Next up, some more spacklin', sandin', glassin'